


The process of pairing your Xfinity remote isn’t as complicated as it might seem. With the right steps, you’ll be back to channel surfing and volume control in no time. Let’s dive into how you can get your Xfinity XR11, XR15, or XR16 remote connected and working seamlessly with your TV.
Things to Do Before You Start Pairing
Make sure your TV is powered on and connected to Wi-Fi, especially if you’re using a smart TV or an XR16 remote that pairs via Bluetooth. If you haven’t set up your internet yet, it might be worth checking out how to set up Xfinity Wi-Fi first to avoid connection hiccups during pairing.
Put your Xfinity remote in pairing mode. Now that your TV is powered on, let’s get down to pairing. Depending on your remote model, the pairing process can be automatic or manual.
How to Pair Xfinity Remote to TV
Here’s a clear guide for different remotes:
XR11 Remote Pairing Steps
1. Activate Pairing Mode
Press and hold the Xfinity button (the large one at the top) until the green LED light turns on, then release it.
The LED will blink and then stay solid green.
2. Initiate Pairing
Press and hold the TV Power button until the LED blinks and stays solid.
3. Automatic Pairing
The remote will attempt to pair with the TV automatically. If successful, the TV should respond (screen flash, or sound) in about 1 minute.
4. If Automatic Pairing Doesn’t Work
Press the TV Power button again and hold it until the LED blinks and stays solid. Then press Enter to complete the pairing process.
XR15 Remote Pairing Steps
1. Activate Pairing Mode
Press and hold the Xfinity button until the green LED light turns on, then release it. The LED will blink and then stay solid green.
2. Initiate Pairing
Press and hold the Info button (the small “i”) until the LED blinks green, then release it.
3. Automatic Pairing
The remote will attempt to pair with the TV automatically. If successful, the TV should respond (screen flash, or sound) in about 1 minute.
4. If Automatic Pairing Doesn’t Work
Press the TV Power button again and hold it until the LED blinks and stays solid. Then press Enter to complete the pairing process.
Key Difference:
- XR11 uses the TV Power button to initiate pairing.
- XR15 uses the Info button (the “i” button) to initiate pairing.
XR16 Remotes
The XR16 remote pairs using Bluetooth, which means the process can be even more seamless. Here’s what you should do:
1. Activate Pairing Mode
Hold down the Xfinity button at the top of the remote until the LED turns green, then release.
2. Initiate Pairing
Press and hold the Info button (small “i” button) until the LED blinks and stays solid.
3. Bluetooth Pairing
The remote should now connect to the TV via Bluetooth.
Manual Pairing with the Code Search Method
If automatic pairing didn’t work, let’s try a manual method. This works well for both older remotes and stubborn TVs.
- Turn your TV on: Make sure the TV is powered on, and the screen is visible.
- Activate pairing mode: Press and hold the Xfinity button until the LED turns green, then release it.
- Press and release the TV button: The LED should blink and stay green.
- Press and release the power button: The remote will now begin searching for the correct code.
Once it finds the right code, your TV should turn off. You’ve successfully paired the remote!
You can find the codes in the Xfinity manual or online. Simply match your TV brand to the correct code.
Testing Your Pairing
After pairing your Xfinity remote, it’s time to test it out. Here’s how:
- Turn your TV on and off using the remote.
- Adjust the volume to ensure the remote works with your TV.
- Change channels or try using a streaming app like Netflix to see if everything responds correctly.
Troubleshooting: What to Do When Pairing Doesn’t Work
If things don’t go according to plan, don’t worry! Some common troubleshooting steps can help.
- Check the batteries: Make sure the batteries are fresh and inserted correctly. A weak or dead battery can be the culprit.
- Reset the remote: Remove the batteries, press each button a few times to drain any residual power, then reinsert the batteries and try pairing again.
- Clear any obstructions: Your remote needs a clear line of sight to the TV (for infrared) or Bluetooth connection. Make sure there are no objects blocking the signal between the remote and the TV.
- Update your TV’s software: Check your TV’s settings to see if any firmware updates are available. An updated TV may pair more easily with the remote.
- Check your internet connection: Some smart TVs or remotes rely on a stable connection for certain pairing features or app integrations. If your network is acting up, Xfinity WiFi not working could be part of the issue. So, make sure everything’s running smoothly on that end before trying again.
Why Pairing Can Be Tricky
The reason is that modern TVs and remotes come with a lot of advanced features, and every brand is a little different. Manufacturers, like Xfinity, have to make sure their remotes can work with a wide variety of TV models and technologies. These differences can lead to some pairing quirks.
But don’t get discouraged! Once you’ve paired your remote successfully, it should be smooth sailing from there.
Bonus tip: Unlock more with a VPN for Xfinity
While you’re setting up your Xfinity remote, it’s also a great time to think about maximizing your TV’s potential. Some streaming apps may limit content based on your region, even when your remote is fully working.
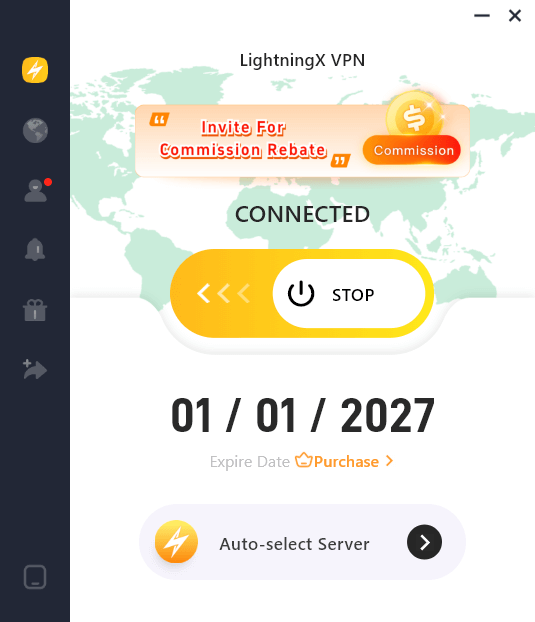
That’s where a VPN like LightningX VPN comes in. It lets you bypass geo-restrictions, giving you access to shows, sports, or apps that might not normally be available in your area. With fast speeds and easy setup, LightningX VPN makes streaming smoother and more flexible – just like your remote should be.
Final Thoughts
Whether you have an XR11, XR15, or XR16 remote, following the steps in this guide will likely help you get everything working. If you still can’t get it to work, call Xfinity customer support.
Now, enjoy controlling your TV from the comfort of your couch! No more getting up to change the channel.


