


You’ve built your Minecraft world, but your friends can’t connect. This common issue is resolved by Minecraft port forwarding, a process that involves opening a specific digital port on your router to allow incoming server traffic. This guide provides the complete step-by-step instructions for how to port forward a Minecraft server, and covers essential security tips to get your server online safely and quickly.
What Is the Minecraft Default Port?
Before we dive into the router settings, you need to know the magic number. Every application on the internet uses a specific port to communicate.
- For Minecraft Java Edition, the Minecraft default port is 25565.
When you configure your router, you will tell it to direct all traffic asking for “port 25565” straight to your PC.
- If you are playing Minecraft: Bedrock Edition, the default port is usually 19132.
Key Protocols to Know:
- TCP (Transmission Control Protocol): Ensures data arrives accurately.
- UDP (User Datagram Protocol): Prioritizes speed over accuracy.
- Recommendation: When port forwarding Minecraft, select “Both” (TCP/UDP) to ensure the best connection stability.
Related: TCP vs UDP: Which Is Better Protocol?
Preparations Before You Start Port Forwarding
You cannot simply jump into your router settings yet. You need to prepare your computer first. If you skip these steps, your port forwarding might stop working after a computer restart.
1. Set a Static IP Address
Your router assigns IP addresses to devices dynamically. This means your computer’s local IP address might change tomorrow. If it changes, your port forwarding rule will break. You must set a static IP address for your server machine.
For Windows Users:
- Open Settings > Network & Internet.
- Select Ethernet (or Wi-Fi) > click Edit under IP assignment.
- Switch from Automatic (DHCP) to Manual.
- Toggle on IPv4.
- Enter an IP address that is available on your network (e.g., 192.168.1.150).
2. Access to Router Admin Panel
You need the username and password for your router. This is often found on a sticker on the back of the router itself. Common usernames are “admin,” and the password is usually “password” or blank.
Step-by-Step Guide: How to Port Forward a Minecraft Server
Now we will tackle the core process. The interface varies by router brand (ASUS, Netgear, TP-Link), but the logic remains the same. Here is your complete guide to port forwarding for Minecraft.
Step 1: Find Your Default Gateway
You need to know the address of your router to log in.
- Press Windows Key + R on your keyboard.
- Type cmd and press Enter.
- In the Command Prompt, type ipconfig and hit Enter.
- Look for the line that says Default Gateway. It usually looks like 192.168.1.1 or 192.168.0.1.
- Also, note down your IPv4 Address. You will need this in Step 3.
Step 2: Log in to Your Router
- Open your preferred web browser (Chrome, Edge, Firefox).
- Type the Default Gateway number into the address bar and press Enter.
- Enter your router’s login credentials.
Step 3: Locate the Port Forwarding Section
This section has different names depending on the manufacturer. Look for tabs labeled:
- Port Forwarding
- Virtual Server
- NAT / QoS
- Applications & Gaming
- Advanced Settings
If you cannot find it, consult your router’s manual or support website.
Step 4: Create the Port Forwarding Rule
Click “Add New” or “Create Rule.” You will see several empty fields. Fill them out as follows:
- Service Name / Description: Enter Minecraft Server (This is just for you to identify it).
- External Port: Enter 25565.
- Internal Port: Enter 25565.
- Protocol: Select TCP/UDP or Both.
- Device IP / Internal IP: Enter your computer’s IPv4 Address (from Step 1).
- Status: Ensure “Enabled” or “On” is checked.
Click Save or Apply. Your router may need a minute to restart. Congratulations! You have successfully configured Minecraft port forwarding.
Security Risks and Network Stability
Opening ports on your router is necessary for hosting, but it comes with risks. You are essentially poking a hole in your firewall. This allows your friends to join, but it also makes your home network visible to the public internet.
The Dangers of a Public IP:
- DDoS Attacks: Malicious players can flood your connection with traffic, causing your internet to crash.
- Location Tracking: Your IP address reveals your approximate physical location.
- ISP Throttling: Internet Service Providers often slow down connections when they detect high-bandwidth server hosting.
Enhance Your Gaming Security with LightningX VPN
If you are concerned about exposing your home network, you need a layer of protection. This is where LightningX VPN becomes essential for gamers.
While you are hosting or playing on other servers, LightningX VPN masks your real IP address. It routes your traffic through a secure, encrypted tunnel. This makes it virtually impossible for bad actors to target your home network with DDoS attacks.
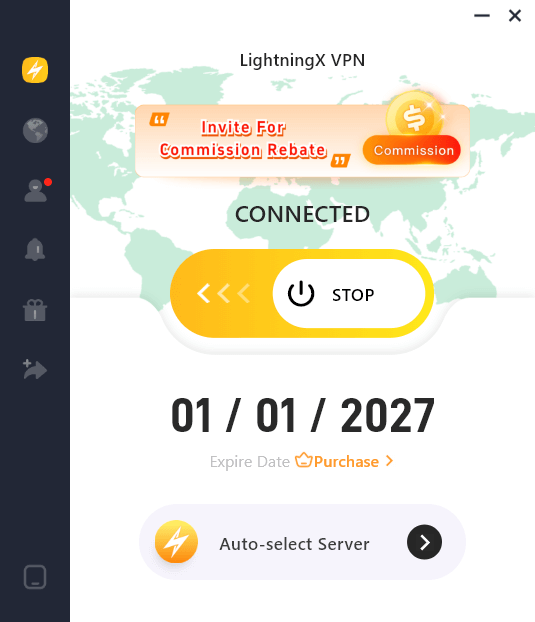
Furthermore, LightningX VPN optimizes your connection path. This can reduce latency and packet loss, especially if your ISP attempts to throttle your gaming traffic. It allows you to game with peace of mind, knowing your digital identity and home network are shielded from threats.
Troubleshooting Common Port Forwarding Issues
Even if you follow the guide perfectly, things can go wrong. Here are the most common reasons why Minecraft port forwarding is not working.
1. Windows Firewall is Blocking Java
Your router might be open, but your computer’s firewall is slammed shut.
- Go to Control Panel > System and Security > Windows Defender Firewall.
- Click Allow an app or feature through Windows Defender Firewall.
- Scroll down and find the Java(TM) Platform SE binary.
- Ensure both Private and Public boxes are checked.
Also Read: How to Turn off Windows Defender: RTP, Firewall, & Antivirus
2. You Have a Double NAT
If you have a modem from your ISP and a separate router you bought yourself, you might have a “Double NAT” issue. Both devices are trying to route traffic, causing a conflict.
- Fix: Log in to your ISP modem and set it to “Bridge Mode.” This lets your personal router handle all the port forwarding.
3. Your Public IP is Different
The IP address you see on your computer is local. Your friends need your public IP to join.
- Go to Google and search “What is my IP”.
- Give this number to your friends. They will join using Your Public IP: 25565.
FAQ – Minecraft Port Forwarding
Q1: Is port forwarding Minecraft safe?
Generally, yes, if you only share your IP with trusted friends. However, opening ports always carries a slight risk. Using security tools like LightningX VPN, one of the best VPNs with Port Forwarding for your general browsing and gaming, can help mitigate broader network risks.
Q2: Does it cost money to port forward?
No. Minecraft port forwarding is a feature built into your router. It is completely free.
Q3: Can I change the default port from 25565?
Yes. You can change the port in the server properties file in your Minecraft server folder. If you do this, make sure to update your router’s forwarding rule to match the new number.
Q4: My friends still can’t join. What now?
Check if your ISP uses CGNAT (Carrier-Grade NAT). If they do, traditional port forwarding will not work. You may need to call your ISP and ask for a static public IP address.
Conclusion
By successfully following this guide on how to port forward a Minecraft server, you have established the necessary connection for your friends to join. Remember the security tips (like using a VPN) and the troubleshooting steps provided. Now, launch Minecraft and enjoy your custom server!


