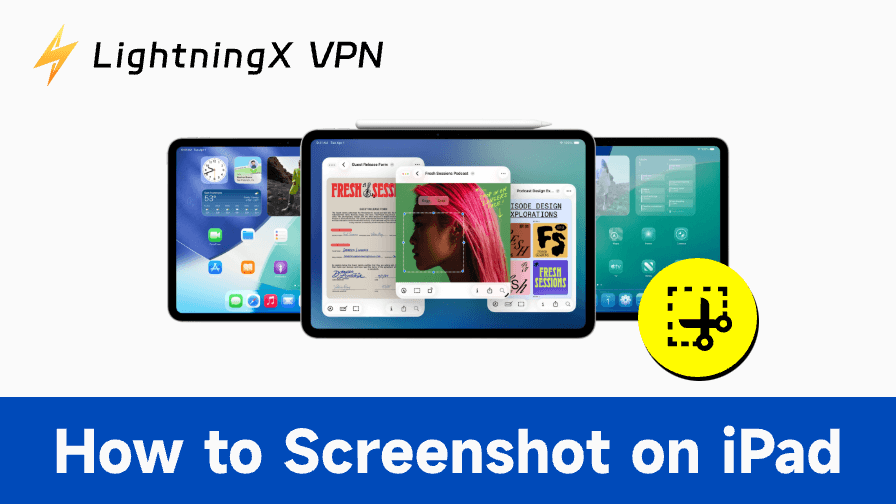
Taking a screenshot on your iPad is a quick way to save a conversation, keep a recipe, or capture a key moment in a game. But depending on the iPad model you’re using, the method for taking a screenshot can vary slightly. In this guide, we’ll walk you through the different ways to take screenshots across all major iPad models, plus some bonus tips like gesture controls, Apple Pencil features, and screen recording.
How to Screenshot on iPad (With a Home Button)
If you’re using an iPad that still has a physical Home button (typically models like iPad 9th gen, iPad 8th gen, or older), the screenshot process is straightforward:
Steps:
- Make sure the screen shows exactly what you want to capture.
- Press the Top button and the Home button at the same time.
- Quickly release both buttons.
You’ll see a flash on the screen, and the screenshot will appear in the bottom-left corner for a few seconds. Tap on it to edit, or let it save automatically to your Photos app.
How to Screenshot on iPad Without a Home Button
Newer iPad models like the iPad Pro (all Face ID models), iPad Air (4th gen and later), and iPad Mini (6th gen or iPad Mini 7th) no longer include a physical Home button. Here’s how to take a screenshot on these models:
Steps:
- Navigate to the screen you want to capture.
- Press the Top button and the Volume Up button at the same time.
- Release both quickly.
Again, your screenshot will flash and appear in the corner for immediate access.
Universal Screenshot Methods (Work on All Models)
Whether your iPad has a Home button or not, Apple offers several alternative methods to take screenshots, especially useful for people who prefer gestures or need assistive features.
1. Using AssistiveTouch (Floating Button)
AssistiveTouch is a small, on-screen menu you can enable from Settings > Accessibility > Touch > AssistiveTouch.
To take a screenshot with AssistiveTouch:
- Tap the floating button.
- Go to Device > More > Screenshot.
This method is helpful if your physical buttons aren’t working reliably or if you find them awkward to press simultaneously.
2. Three-Finger Gesture (iPadOS 13+)
If your iPad is running iPadOS 13 or later, you can also use a simple gesture:
- Place three fingers on the screen.
- Quickly pinch inwards.
This will trigger a screenshot just like the button methods.
3. Apple Pencil Screenshot (iPadOS 14+)
If you’re using an Apple Pencil (1st or 2nd gen), there’s an even smoother way:
- Swipe your Apple Pencil up from the bottom corner of the screen (either left or right).
- This will immediately capture a screenshot and bring it into Markup mode.
Related: How to Connect Apple Pencil to iPad? [Quick Guide]
Advanced Screenshot Options
Once you’ve mastered the basics, here are a few extra tricks to explore:
Full-Page Screenshot (Webpages and Documents)
When taking a screenshot in Safari or supported apps like Notes or Mail, you can capture an entire page:
- Take a screenshot using any method.
- Tap the preview in the corner.
- Choose “Full Page” at the top of the screen.
- You can then scroll through the entire page and save it as a PDF to your Files app.
Note: This feature is not available in every app, mostly just Apple’s native apps.
Extra Tip: How to Screen Record on iPad
Sometimes a static screenshot isn’t enough. If you want to record what’s happening on your iPad screen:
Steps:
- Go to Settings > Control Center and add Screen Recording if it’s not already there.
- Swipe down from the top-right corner of the screen (or up from the bottom on older models) to open Control Center.
- Tap the Record button (a solid dot inside a circle).
- To stop, open Control Center again and tap the same button.
Your screen recording will be saved in the Photos app alongside your screenshots.
If you’re recording sensitive content, like login steps or internal tutorials, make sure you’re sharing it securely. A privacy-focused VPN like LightningX VPN adds an extra layer of protection when uploading or transferring files over public Wi-Fi.

It encrypts your connection with protocols like WireGuard or OpenVPN, using strong ciphers such as AES-256-GCM or ChaCha20-Poly1305.
When you use LightningX VPN, your data is wrapped in layers of encryption (think AES-256 and WireGuard) so no unauthorized party, be it an ISP or someone snooping on your Wi-Fi, can access your files or recordings.
FAQs – How to Screenshot on iPad
Q: How do I find my screenshots after saving them?
All screenshots automatically save to the Photos app, usually in the “Screenshots” album for easy access.
Q: Can I take screenshots while using an app in split-screen or Slide Over mode?
Yes, you can capture screenshots in multitasking modes just like normal. The entire visible screen, including both apps, will be captured.
Q: Does the iPad support scrolling (full page) screenshots in all apps?
No, full-page screenshots are only supported in Safari and some native apps like Notes or Mail, but not in all third-party apps.
Q: Is screen recording available on all iPad models?
Screen recording is supported on iPads running iOS 11 or later. Make sure it’s added to your Control Center for quick access.
Q: Can I share screenshots directly from the preview without saving?
Yes, when the preview appears, tap the share icon to send it via messages, email, or social apps without saving permanently.
Final Thoughts
While each iPad model has its quirks, once you know whether or not you have a Home button, the rest is pretty intuitive. And with Apple’s added gestures and Pencil features, capturing exactly what you need is easier than ever.
Even better, these tools are consistent across the iPad lineup, so you don’t need to memorize too many combinations. Start with the method that fits your iPad model best and explore the extra options when you need more flexibility.


