RAM (Random Access Memory) is a vital part of any computer. It helps your device run programs smoothly and efficiently. But sometimes, RAM can cause problems, and if your computer is running slowly, crashing, or freezing, faulty RAM could be the reason. Testing your RAM can help identify whether it’s working correctly or if it needs to be replaced. This guide will show you 3 simple ways to test your RAM and understand what the results mean.
What Is RAM?
RAM, or Random Access Memory, is a type of memory in your computer that stores data temporarily. When you open a program or file, it loads into RAM so your computer can access it quickly. Unlike the storage on a hard drive or SSD, which holds files long-term, RAM is only temporary and clears out when your computer is turned off or restarted. This temporary memory helps your computer perform tasks faster and more efficiently, allowing multiple programs to run smoothly at the same time.
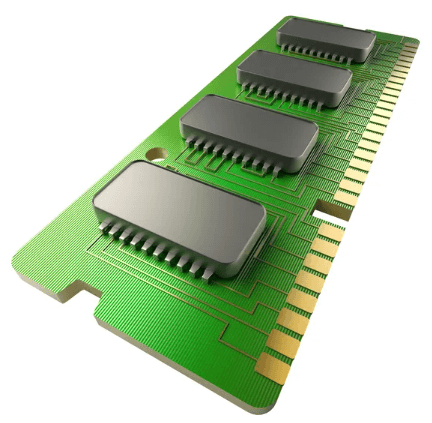
RAM plays a crucial role in your computer’s performance. The more RAM you have, the more data and programs your computer can handle at once. This is why adding more RAM often makes a computer run faster, especially when multitasking or using memory-intensive applications, like video editing software or games.
Why Do You Need to Test RAM?
Testing RAM can help identify if it’s the cause of certain computer issues. Over time, RAM can wear out or become faulty due to things like electrical surges, overheating, or even manufacturing defects. When RAM is not working correctly, it can lead to a range of problems that impact your computer’s performance and stability, including:
- Slow performance: Your computer feels sluggish, and programs take longer to load.
- Frequent crashes: Random shutdowns or restarts happen, often with no warning.
- Freezing or lagging: The screen freezes, especially during memory-intensive tasks.
- Error messages or Blue Screen of Death (BSOD): RAM issues often cause Windows’ blue error screen, commonly known as the “Blue Screen of Death.”
- File corruption: Programs or files may fail to open or save correctly, causing errors.
By testing your RAM, you can figure out if these problems are related to memory issues or if there’s another cause. This can save time when troubleshooting and can help you avoid unnecessary repairs or replacements of other components.
How to Test RAM: 3 Ways
Here, we’ll cover three main ways to test RAM on both Windows and Mac computers.
Way 1. Using Windows Memory Diagnostic Tool (Built-in)
The Windows Memory Diagnostic tool is a built-in feature in Windows that checks your RAM for errors. Here’s how to use it:
Step 1. Open the tool: Press the Windows key, type “Windows Memory Diagnostic,” and press Enter.
Step 2. Choose your test option: A window will appear with two options:
- Restart now and check for problems (recommended): Your computer will restart immediately and start the test.
- Check for problems the next time I start my computer: The test will run the next time you restart.
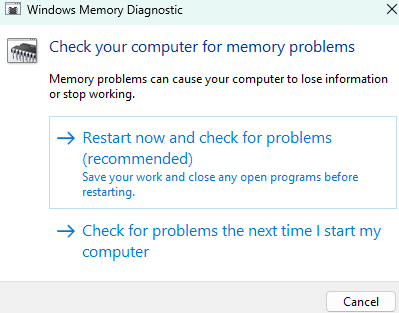
Step 3. Running the test: If you choose the first option, your computer will reboot, and the diagnostic tool will start. The test takes a few minutes, and your computer will show the progress on-screen. (Remember to save your work and close any open programs before restarting)
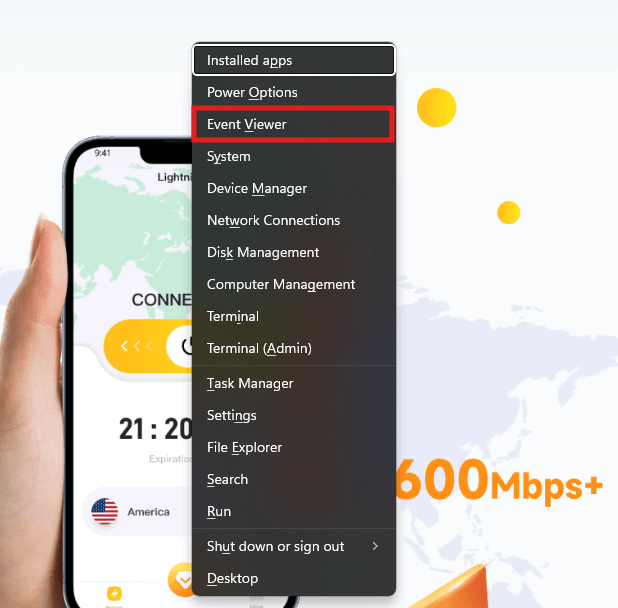
Step 4. Viewing the results: After the test finishes, your computer will restart automatically. To see the results, open the Event Viewer:
- Press the Windows key + X, and choose “Event Viewer.”
- Go to Windows Logs > System and look for logs with “MemoryDiagnostics-Results” in the description.
Way 2. Using MemTest86 with a USB
MemTest86 is a popular tool for thoroughly testing RAM. It’s free for personal use and offers more detailed testing than Windows’ built-in tool. Here’s how to use it:
Step 1. Download MemTest86: Go to the official website (https://www.memtest86.com/) and download the tool.
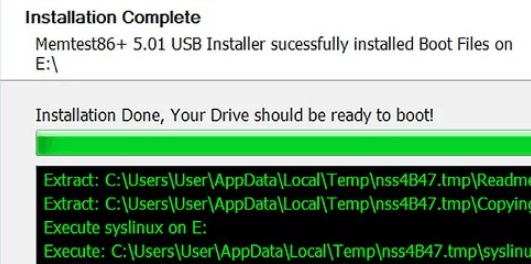
Step 2. Create a bootable USB Drive: You’ll need a USB drive with at least 1GB of space. Use a tool like Rufus or Etcher to make a bootable USB with MemTest86.
Step 3. Restart your computer and boot from the USB:
- Insert the USB drive and restart your computer.
- Press the key (like F2, F12, Esc, or Delete, depending on your computer brand) during startup to enter the boot menu. Choose the USB drive.
Step 4. Run the test: MemTest86 will start automatically. The test may take 1–2 hours, depending on your RAM size. The tool will show any errors it finds during the test.
Step 5. View the tests: After the test finishes (or after a few passes if you decide to stop early), you can review the results.
Way 3. Using Apple Diagnostics on Mac Computers
If you’re using a Mac, testing RAM is a bit different but still simple. Here’s how to check your RAM on a Mac:
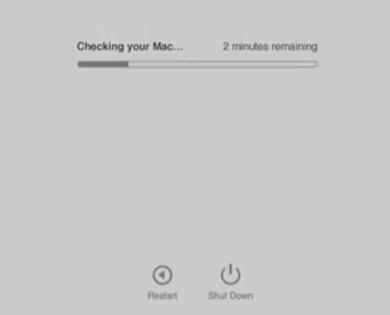
Step 1. Restart and hold D: Shut down and restart your Mac. Then hold down the power button until you see the startup screen, and then press CMD+D.
Step 2. Apple Diagnostics: This tool will automatically start and test your Mac’s hardware, including the RAM. It will show any issues it finds, along with recommended actions.
Step 3. Follow the recommendations: If it detects a RAM issue, Apple Diagnostics may suggest taking your Mac to a service provider for repairs.
Notes: Once you’ve tested your RAM and confirmed it’s working well, you might want to further optimize your system for better performance. Using a secure and optimized VPN like LightningX VPN can improve your online experience, keeping your data safe without slowing down your system, which is particularly useful when multitasking.

Tip: LIghtningX VPN offers a secure, stable, and fast network connection for your online activity. It provides 2000+ servers in more than 50 countries with unlimited access to global content with no bandwidth or speed limits, you can enjoy massive streaming services with the least storage.
How to Interpret the Testing Results?
After running these tests, you’ll receive results that tell you whether your RAM is functioning well. You can open the results in Event Viewer on Windows (mentioned in the last part). Here’s how to interpret them:
- No Errors: If the test doesn’t show any errors, your RAM is likely not the source of the problem. If your computer still has issues, consider testing other hardware components like the hard drive.
- Errors Found: If errors are detected, your RAM may be faulty. Errors like “Read/Write Error” or “Data Mismatch” indicate problems in certain areas of the memory.
Sometimes, the results may suggest testing each RAM stick individually. If you have multiple sticks of RAM, try testing one at a time by removing others. This will help you identify the specific stick causing the issue.
What to Do If RAM Fails the Test?
If the RAM test finds issues, it’s time to consider replacing it. Here’s what to do:
Double-check seating: Sometimes RAM errors occur because a stick is not seated properly. Power off your computer, open the case, and make sure each RAM stick is securely inserted.
Test each RAM stick individually: Remove all RAM sticks except one, then run the test on each stick one at a time. This helps you identify which stick is faulty.
Replace the faulty RAM: If you find that one or more sticks are causing errors, it’s best to replace the faulty RAM. If your computer is still under warranty, check if the RAM is covered for replacement.
Contact a professional (Optional): If you’re unsure how to replace RAM or interpret results, a computer technician can help diagnose and fix the issue.
Conclusion
Testing your RAM is an important step in troubleshooting computer issues. This post guides you on how to test RAM using a Windows built-in tool, using MemTest86 with a USB, and testing it on a Mac. Following this guide, you can easily check if your RAM is causing problems and take action if needed.


