You’ve come to the right place if you want to know how to change App Store country. This guide will walk you through the steps. It’s simple and easy to follow. Changing the country on your App Store account can be helpful for many reasons. Maybe you’ve moved to a new country or want to explore apps and content available in a different region.
What You Need to Do Before Changing App Store Country
Before you start changing your App Store country, there are a few things you need to keep in mind:
Spend your Apple ID balance: The remaining balance in your account may not be available in your new country/region. If you have an unused balance on your Apple ID, remember to spend it first.
Cancel subscription services: If you subscribe to certain services (e.g. Apple Music, iCloud+, etc.), please cancel these app subscriptions and wait until the end of the subscription period. Because your subscriptions may be canceled after changing country.
Waiting for the service to complete: Before changing your country, you should wait for your current membership, booking, movie rental or season pass to end. Besides that, deal with all the refund services of your app store. Because once you change to another country, there will be a difference in currency and prices.
Prepare a new payment method: After changing the app store country, you may need to use a new payment method to make purchases. Please prepare a bank card or other payment method that corresponds to your new country in advance.
Redownload required apps: Some apps, music, movies, and TV shows may not be supported in your new country. Download all important apps in advance. This way, you can continue using these apps even after the country has been changed.
Tip:
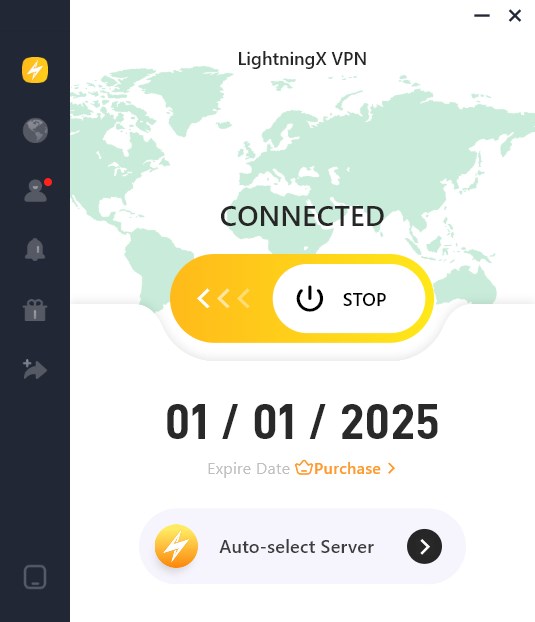
Try using LightningX VPN to help you change the App Store country. LightningX VPN is the best VPN for Windows, Mac, Android, iOS, and TV. It offers 2,000+ servers in 50+ countries. It will protect your data and privacy when changing your App Store country. It also provides a stable connection, which ensures that your internet connection is not interrupted when changing App Store country.
Steps to Change Your App Store Country
Change the App Store Country on iPhone/iPad
To change the App Store country on your iPhone or iPad. You can follow these steps:
Step 1: Go to your home screen and tap on the “Settings” app.
Step 2: At the top of the Settings menu, tap on your name to access your Apple ID settings.
Step 3: Tap on “Media & Purchases.” You might need to sign in with your Apple ID.
Step 4: Choose “View Account” from the options.
Step 5: Select “Country/Region” to start the change process.
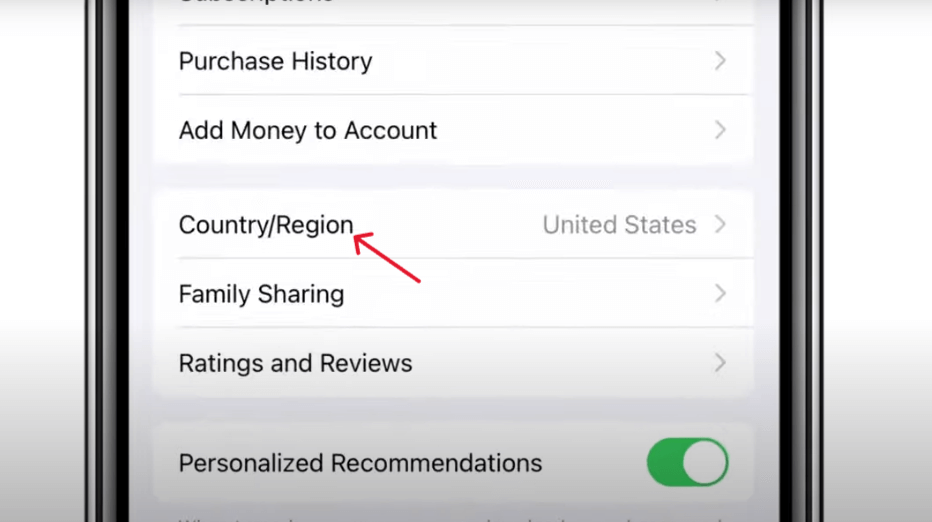
Step 6: You will see an option like “Change Country or Region”. Tap on it.
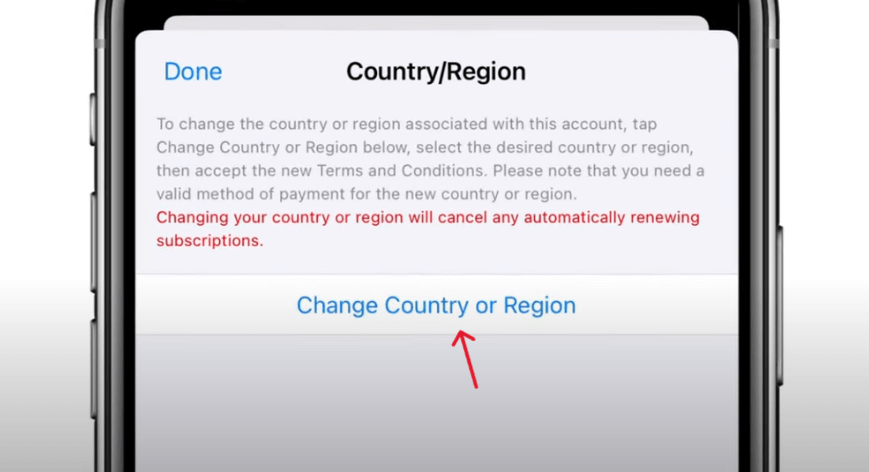
Step 7: Choose your new country from the list and read its terms and conditions.
Step 8: Tap the “Agree” button and confirm again.
Step 9: Enter your payment method and add a new billing address.
Step 10: Make sure all your details are correct, then tap “Next” or “Done” to complete the process.
Change Your App Store Country on Mac
Changing your App Store country on Mac is easy, you can use two methods as follows:
Method 1:
- Launch the Music app or iTunes on your Mac.
- Click on “Account”, then choose “Account Settings”. Select “View My Account”. You may be prompted to sign in to your Apple ID.
- Under “Account Information”, locate the “Country/Region” section and click the “Change Country or Region” option.
- Select the new country you want from the list.
- Read and agree to the terms and conditions of the new country.
- Enter your payment information and billing address for the new country/region. Double-check your details and then confirm the changes.
Method 2:
- Locate and open the Mac App Store.
- Click your profile picture in the bottom left corner. Click the Account Settings option in the top right corner.
- If prompted, Sign in using your Apple ID and password.
- Click Change Country or Region in the Apple ID summary section.
- Tap the Select a country or region button.
- Choose a new country.
- Agree with the new terms and conditions for the region.
- Add a billing address or payment method for the country you just selected. Click Continue and complete the process.
Change App Store Country Online
In addition to changing your country on your device, you can also do this using your browser:
- Visit appleid.apple.com.
- Enter your username and password to sign in.
- Select the “Personal Information” option.
- Click on “Country/region”.
- Follow the on-screen instructions to change your country. You need to enter a valid payment method for your new country or region.
Use LightningX VPN to Help You Change App Store Country
VPN can hide and change your real IP address. This will help you change the app store country on your Apple device. The benefits of using LightningX VPN are as follows:
- It can help you bypass the App Store’s geo-restrictions. Access apps and services that are only available in other regions.
- It uses robust data encryption and security protocols like Shadowsocks, Vless, and WireGuard. These can protect your data and prevent the App Store and other third parties from tracking your location and activity.
- It allows you to switch to servers in different countries quickly. This means you can easily find the App Store content and services that are best for you.
- The App Store may have different promotions in different countries. Using LightningX VPN, you can access these offers and save money on purchasing apps, games, or subscription services.
The Benefits of Changing App Store Country
Access more apps: Some apps may not be available in your country or region. By changing the country or region of the App Store, you can access a wider variety of apps.
Enjoy discounts in different regions: The App Store may have different promotions and discounted prices in different countries or regions. Changing countries may help you buy apps, games, or subscription services at a lower price.
Adapt to location changes: If you’ve moved to a new country, switching your App Store country can more quickly match your new location.
Conclusion
Change App Store country is a simple process. Just follow the steps outlined in this guide and you can easily switch to the country of your choice. Access the apps and content you want. Remember to check your Apple ID balance, cancel your subscription, and prepare a valid payment method. With these instructions, you’re ready to enjoy your new App Store experience immediately.


