


If you pay attention to cyber security and privacy, you might hear about the term DNS. It refers to a system that changes domain names into IP addresses. However, have you ever wondered what will happen if your DNS leaks? To check whether your privacy has been exposed, you can conduct a DNS leak test.
Here we will help you on how to conduct a DNS leak test. In addition, we offer some basic knowledge of DNS leaks including what are DNS leaks and why they matter. For protecting your Online privacy, this blog also provides some useful suggestions.
What Is a DNS Leak?
To better understand the importance of a DNS leak test, we can talk about the definition of this term first. Generally, the DNS is short for Domain Name System. As the name suggests, every time you enter a domain name (like www.example.com) into the browser, the DNS will automatically translate it into an IP address. All the data and information you want will be transmitted back to your device.
Normally, your request for visiting a site will be sent to a DNS server that your ISP trusts. When you are using a reliable VPN, it can create a safe tunnel and encrypt your traffic. However, if your computer accidentally sends a request to the wrong server or unsafe VPN, it might lead to a DNS leak.
Your browsing history will be revealed. Now others can guess your habits or hobbies. Besides, your IP address can be tracked. It might leak some personal information such as your physical location and ISP. To prevent these situations happens, it’s better to check your DNS.
How to Run a DNS Leak Test?
It’s very easy to operate. You can directly search for the DNS leak test in your browser. Before we start, if you’re using a VPN, make sure it is turned on and can work functionally.
Based on the tool you selected, here is a brief step.
Step 1: Make sure your connection is stable and connect to your VPN.
Step 2: Find the DNS leak test site with good credits and visit it.
Step 3: Follow the instructions, some might offer a standard test or an extended test. Feel free to choose one based on your needs. Then press the button to start the test.
Step 4: When the test is finished, you can get the information like your IP address and location. Some tools can detect a leak and display it in the result. In addition, you can compare the results with your ISP address. If you see your ISP’s servers, you might have a DNS leak.
What Causes Your DNS Leak?
There are several possible reasons to cause a DNS leak, We list some of them.
Misconfigured VPN: Sometimes, your VPN might assign your DNS to the default ISP server or the wrong servers. Besides, if you try to manually configure the connection, the incorrect configuration might result in a missed DNS request.
No IPv6 support: Some VPNs can only support IPv4. They might block the request from IPv6 devices. So these requests will not be encrypted in the tunnel.
Transparent DNS proxies: Some ISPs only allow their users to use their own DNS servers. With the Transparent DNS proxies, ISPs will force you to change your DNS settings back to their DNS servers.
How to Prevent a DNS Leak?
After viewing your DNS leak test results, you might want to know how to secure your DNS from the beginning. Here we will introduce some effective solutions to keep threats and dangers away from your cyber privacy.
Use a VPN with DNS Leak Protection
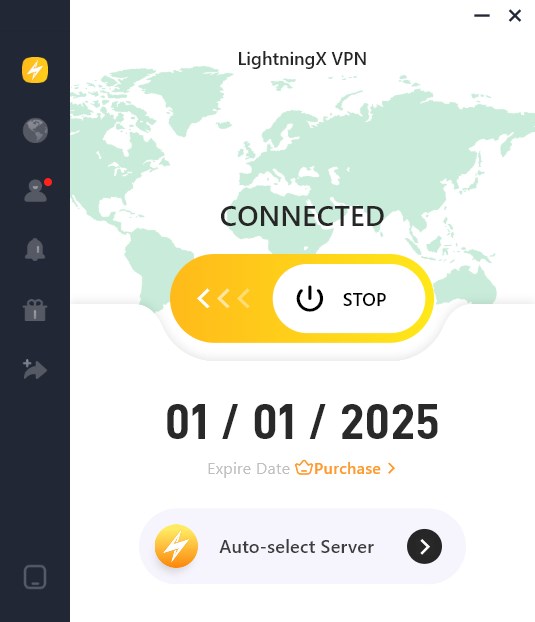
The easiest way is to use a trustworthy VPN to guard your privacy. Here we recommend LightningX VPN.
It provides strong DNS leak protection, making sure all your data travels through the encrypted access. LightningX VPN uses encryption protocols like WireGuard can keep you from hacking or leaking. In addition, you can easily use LightningX VPN to generate a random IP address and hide your real one. It will follow the no-logging policy, you can browse anonymously.
Compatible with your phones, tablets, and computers, you can access unlocked applications and content wherever you are. LightningX VPN offers more than 2000 servers, you can watch streaming services which only available in certain regions. With no latency or buffering, LightningX VPN guarantees you a fast and stable viewing experience.
Use a Firewall
Another useful suggestion is to use a firewall and always remember to update it on time. It can block traffic that is not belonging to the VPN. Make sure all your requests will be directly sent to your VPN server.
Use an Anonymous Web Browser
We already know that if the DNS test shows your DNS is leaked, your browsing history might be viewed by others. What if you are using a completely anonymous browser? You don’t need any DNS configuration to access the web page. No data will be saved.
Run a DNS Leak Test Regularly
Check your DNS status every few weeks, so you can find the DNS leak and fix it in time.
Connect to Public WiFi Carefully
If you try to use public WiFi, be aware that it might be easily attacked by hackers. Without the protection of a strong password, hackers can access your information once you connect to public WiFi.
To secure your data while using it, you can turn your VPN on. On the other hand, if you try to connect to a WiFi connection but don’t know its password, try downloading some reliable WiFi password finders.
Conclusion
In this blog post, you might know how to run a DNS leak test and get a fundamental understanding of the DNS leak. Follow the suggestions, hope this blog can help prevent DNS leaks early.


