


Busy lives or emergencies often make us miss our favorite shows or key sports. YouTube TV’s DVR feature is just the solution you need. This powerful tool allows you to record any live content. Thanks to its one-click saving, you can play back the exciting moments anytime, even when you are busy.
In this article, we will take you to learn more about how to record on YouTube TV, making your viewing experience freer and more convenient.
The DVR on YouTube TV
Seamlessly integrated into the YouTube TV platform, DVR on YouTube TV offers a user-friendly interface. For that reason, it is easy to record and manage your content. As well, one of the outstanding features of YouTube DVR is its unlimited free storage. This means you can record multiple contents simultaneously without any conflicts or limitations.
You may ask “How do I enable DVR on YouTube TV?” Generally, the cloud DVR is enabled when you connect to a stable network and choose to add a TV show, live sporting event, movie, or any other program to your YouTube TV library. Yet, keep in mind that the recordings just can be stored in the cloud for 9 months.
How to Record on YouTube TV
General Steps to Record on YouTube TV
As we described before, YouTube TV has a built-in cloud DVR with no space or storage constraints. Thus, you can record anything you desire. To meet most recording needs, we offer common steps on how to record on YouTube TV.
First, make sure you have downloaded YouTube TV on your devices. Or, ensure that it is available in your regions. If not, try using a YouTube TV VPN to unblock it. Then, follow the below steps.
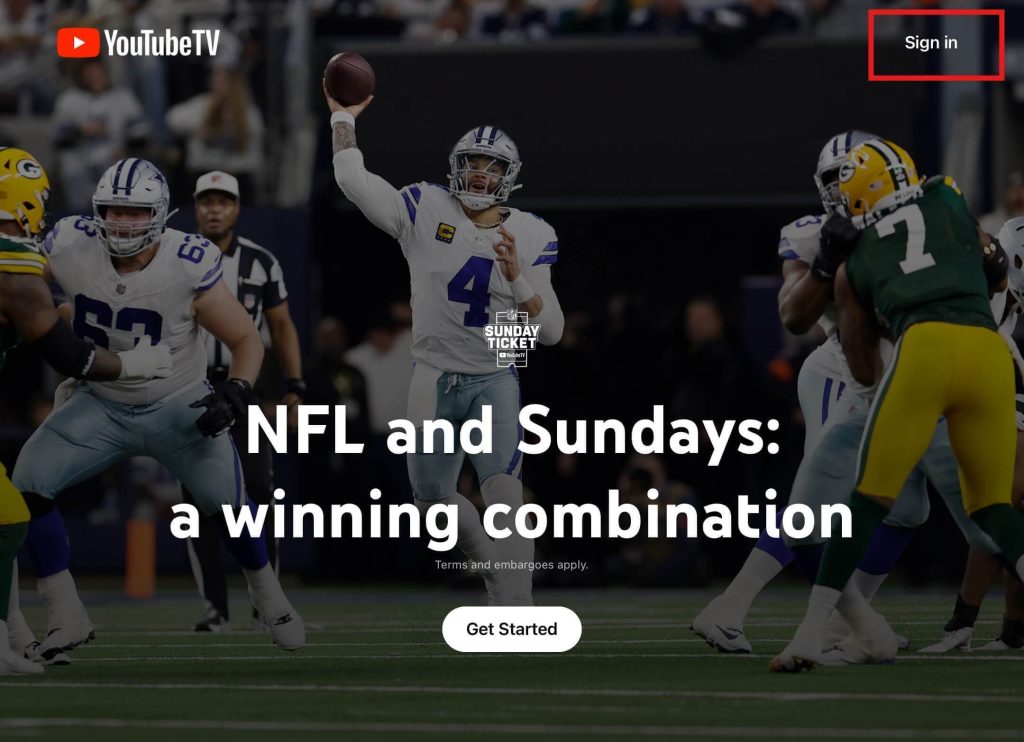
- Log in to YouTube TV by pressing the “Sign In” button on the YouTube TV homepage. Smart TV users need to navigate to tv.youtube.com/start and enter the verification code.
- Choose a program you want to record.
- Tap the Plus sign icon next to the show. After clicking, it will change to a checkmark that notes “Added to library”.
Tip:
If YouTube TV is not accessible in your region, you can use LightningX VPN to unblock it. It has more than 2000 servers and covers 50+ countries. You can change your IP address to a US location. Also, you’ll have a no-latency streaming experience with LightningX VPN.
How to Record Live Shows on YouTube TV
Next, we will introduce how to record shows on YouTube TV. Relatively, the steps will be almost identical.
Step 1: Open the YouTube TV app on mobile devices. Or, if you are using a web browser, you can access YouTube TV via tv.youtube.com.
Step 2: Check YouTube TV’s live bar and play your favorite program from available channels. Or search for a show you want to record by clicking the magnifying glass.
Step 3: Pause the shows while playing. Then, there may appear a plus (+) icon below the name of the show. Click it to start recording or add the live show to your library.
Your recording may begin the moment you watch a show. If the live show is halfway through, you will miss the beginning of the episode. But don’t worry. YouTube TV will replace the partial recording with the full episode when the episode airs again.
Recording Live Sports on YouTube TV
If you don’t want to miss any exciting sports event, recording is the best method to save moments. Here are the detailed steps to record live sports on YouTube TV.
Before recording a live sport, make sure that your YouTube TV how to record on YouTube TVption includes the channel where the sports games you want to record are held.
Related: How to Cancel YouTube TV Subscription: Step-by-Step Guide
Step 1: Launch YouTube TV on any available platforms (e.g., mobile phones, browsers, and smart TVs).
Step 2: Browsing or searching for the live sports you need to record. The search bar (magnifying glass icon) is generally located in the upper right corner of the window or screen.
Step 3: Click the selected channel, team, league, and other events.
Step 4: Tap the Plus icon, the content you choose will be recorded and added to your library.
Note that some specific sporting events may have copyright restrictions that do not allow recording. If you don’t see a Plus button, it means you can’t use YouTube TV’s DRV to record. However, you can easily record the program using screen recording software such as OBS Studio.
Access and Manage Saved YouTube TV Recordings
By opening YouTube TV, you can see three options (Library, Home, and Live) on the top of the homepage. No matter what you have recorded on YouTube TV, the recordings will be saved in the “Library” section. All of the recordings will be categorized for easy access.

To better manage the contents you recorded, you can check the following methods.
Create a personal playlist: For easy follow-up, you can group your favorite shows by topic or genre in the “Library” bar.
Delete saved recordings: If any saved events are not needed, you can go to “Library” to view all the videos. Remove them by clicking the checkmark. Then, it will be changed back to the Plus icon. It indicates that the deletion is successful.
How to Record on YouTube TV – FAQs
Does the cloud DVR record feature on YouTube TV charge?
The Cloud DVR feature of YouTube TV is included in the base plan and you don’t need to pay extra. Subscribing to YouTube TV gives you access to unlimited DVR storage space.
Can recorded shows on YouTube TV be watched offline?
Yes, YouTube TV supports offline viewing of recorded programs on your device. You can watch it offline anytime without an internet connection.
Does YouTube TV support recording multiple programs at the same time?
Yes, you can record content from multiple channels or multiple programs at the same time. YouTube TV will automatically process and record as long as the program or channel is available.
Conclusion
Break the time constraints of cable and enjoy the freedom and flexibility of YouTube TV DVR. Follow our guide on how to record on YouTube TV, you will not miss any episodes and sporting events. Hope you have an excellent streaming with YouTube TV.


