


Ever tried explaining something on your Chromebook and wished you could just show the screen instead? All you need to know is how to take a screenshot. From quick shortcuts to more advanced tools, there are plenty of ways to capture exactly what you need. This guide will walk you through how to take a screenshot on a Chromebook step by step.
Using Keyboard Shortcuts for Screenshots
Keyboard shortcuts are the fastest, most reliable way to capture your screen on a Chromebook. Below are the exact key combos, what you’ll see after a capture, and a few useful variants for external keyboards.
Quick reference
- Full screen: Ctrl + Show Windows (the key that looks like a rectangle with two vertical lines).
- Partial / region: Ctrl + Shift + Show Windows, then click and drag to select.
- Open Screen Capture toolbar (full/partial/window/record): Ctrl + Shift + Show Windows (this opens the interactive toolbar at the bottom).
If your external keyboard doesn’t have a Show Windows key, use Ctrl + Shift + F5 as an alternative.
Full-Screen Screenshot: Step-by-Step
- Make sure the content you want to capture is visible and active on your screen.
- Press Ctrl + Show Windows at the same time and release.
- You’ll see a quick animation or flash; a small thumbnail then appears in the lower-right corner of the screen.
- The file is saved automatically (usually as a PNG) into your Downloads folder – click the thumbnail to open the image, copy it, or open the built-in editor.
Partial/region Screenshot: Step-by-Step
- Press Ctrl + Shift + Show Windows. The cursor turns into a crosshair, and the screen dims slightly.
- Click and drag to draw a rectangle around the area you want to capture; release the mouse or trackpad to take the shot.
- A thumbnail appears; use it to crop further, annotate, copy to the clipboard, or share.
How to Screenshot a Specific Window on Chromebook
Sometimes you don’t want the whole screen, just a single window. This is especially useful if you’re multitasking in split-screen mode on a Chromebook (see our guide on How to Split Screen on Chromebook), where having a clean window-only capture saves you from cropping out extra apps.
On a Chromebook, there are a few ways to do it, depending on your version of ChromeOS and keyboard setup:
Method 1: Alt + Show Windows
- Open the window you want to capture.
- Press Alt + Show Windows.
- Click the window with your mouse or trackpad.
Method 2: Ctrl + Alt + Show Windows (older shortcut)
Some guides list Ctrl + Alt + Show Windows, followed by a click on the window. This still works on many devices but may not be supported on newer ChromeOS versions.
Method 3: Screen Capture toolbar (most reliable)
- Press Ctrl + Shift + Show Windows to open the toolbar at the bottom.
- Select the window-capture icon.
- Click on the target window.
This method produces the cleanest results and works consistently across recent ChromeOS versions.
Using a Stylus or Touch Screen
Convertible Chromebooks and models with a stylus offer even more flexible screenshot options.
- Stylus method: Tap the stylus icon < choose Capture Screen or Capture Region. The stylus makes selecting precise areas easier than using a trackpad.
- Touch Screen Gesture: On some models, press the Power + Volume Down buttons at the same time (similar to Android devices). This works well when your Chromebook is in tablet mode.
Advanced Screenshot Features
If you need more than a simple snapshot, Chromebooks have built-in advanced tools.
- Screen capture toolbar: Press Ctrl + Shift + Show Windows to open a toolbar at the bottom. From there, you can switch between capturing the whole screen, a window, or a region.
- Screen recording: Use the same toolbar and select the video icon. Perfect for recording tutorials or presentations.
- Annotating screenshots: Open the image in the “Gallery app” and use editing tools to crop, rotate, or mark up.
For even more advanced editing, install third-party tools like Lightshot, Awesome Screenshot, or Nimbus Capture from the Chrome Web Store.
Editing and Managing Screenshots
After you take a screenshot, knowing where to find and manage it is crucial.
- Default save location: Screenshots are automatically saved in the Downloads folder as PNG files.
- Rename and organize: Rename files immediately for easy searching later, especially if you take many screenshots.
- Cloud sync: Move important screenshots to Google Drive for cloud backup and easy sharing.
If your Chromebook runs out of local storage, enable Google Drive sync to automatically back up screenshots.
Pro tip: Screenshots can unintentionally capture sensitive details. While saving them locally isn’t an issue, things change once you start sharing online or over public Wi-Fi.
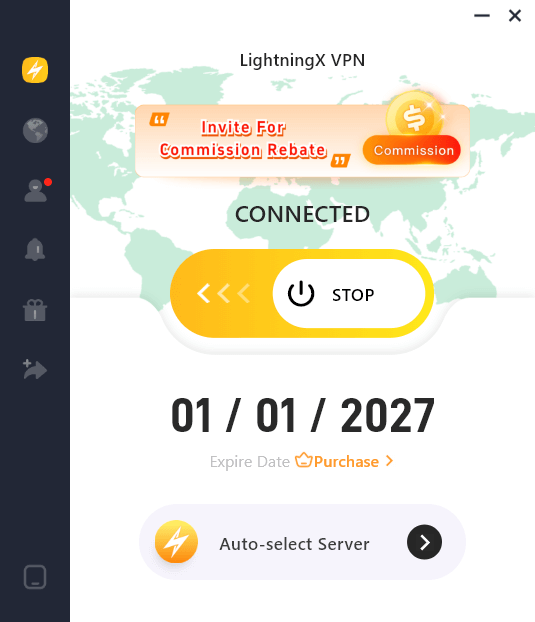
Using a VPN for Chromebook, such as LightningX VPN, ensures that when screenshots are uploaded to cloud storage, sent over email, or shared through messaging apps, they travel through an encrypted tunnel.
The service runs on 2000+ servers across 70+ countries. LightningX VPN also supports up to three devices at the same time. That means your Chromebook, phone, and tablet can all stay protected under one plan. At $7.99 per month, it’s a pretty straightforward layer of privacy.
Troubleshooting Screenshot Issues
Occasionally, you might run into problems while trying to take a screenshot on a Chromebook. Here are the most common issues, along with practical fixes:
Shortcut Not Working
- Check the key: Make sure you’re pressing the right combination (for example, Ctrl + Show Windows). On external keyboards, use Ctrl + F5 instead.
- Keyboard remapping: Go to Settings > Device > Keyboard to confirm keys haven’t been reassigned. Some schools or administrators may also disable screenshot functions on managed devices.
- Restart: A quick restart often restores keyboard shortcuts if they’ve glitched.
Screenshot Not Saving
- Storage space: If your Downloads folder is full, ChromeOS may fail to save screenshots. Clear old files or move them to Google Drive.
- Check permissions: In rare cases, restricted accounts may not allow saving to local storage. Switching to a different profile or contacting your administrator may help.
Tablet Mode or 2-in-1 Device Issues
For convertible Chromebooks, the hardware shortcut is Power + Volume Down (like on Android phones). If it doesn’t respond:
- Hold the buttons firmly for at least a second.
- Check that the buttons themselves are not stuck or disabled.
- Restart the Chromebook if the shortcut consistently fails.
Other Potential Glitches
- Clipboard capture only: Sometimes screenshots go to the clipboard but not the Downloads folder. Try pasting (Ctrl + V) into a document or image editor to see if the shot was captured.
- Update ChromeOS: Outdated versions may cause bugs in Screen Capture. Check Settings > About ChromeOS > Check for updates.
- Extensions conflict: Rarely, third-party extensions or screen-recording apps can interfere. Disable them temporarily and test again.
If none of these fixes work, back up your files and perform a system reset (Powerwash) as a last resort.
Conclusion
Taking a screenshot on a Chromebook is simple once you know the shortcuts and hidden features. If you were wondering how to take a screenshot on a Chromebook, now you have a complete guide – from basic keyboard tricks to advanced recording tools. Next time you need to share your screen, you’ll know exactly what to do.


