Online privacy is a growing concern for many internet users. One way to enhance your online security is by using a private DNS. But what exactly is private DNS, and how can it benefit you? In this article, we’ll discuss its meaning, and provide a step-by-step guide on how to set it up on various devices.
What Is Private DNS?
Private DNS meaning is a Domain Name System that you can configure to enhance your online privacy. Unlike the default DNS provided by your Internet Service Provider (ISP), it often has improved security features and may not log your browsing history. This means that when you type a website’s name into your browser, your request is sent to a private DNS server instead of your ISP’s DNS.
In addition, Private DNS servers can implement security policies such as filtering malicious domain names and monitoring network access. In this way, it provides a higher level of control and security while securing domain name resolution for internal networks.
Related: What is DNS? Everything You Need to Know about DNS
How to Set Up Private DNS?
Setting up private DNS varies depending on the device you are using. Here’s a step-by-step guide for different platforms.
Set Up Private DNS on Android
- Go to the Settings app on your Android device.
- Tap “Network & Internet.”
- Look for “Advanced” options and tap on it.
- Then, select “Private DNS.”
- Choose “Private DNS provider hostname” and enter the hostname of your preferred private DNS provider (e.g., dns. google).
- Tap “Save” or “OK” to apply the changes.
Turn on Private DNS for iOS
- Launch the Settings app on your iPhone or iPad.
- Tap “Wi-Fi” and find your connected network.
- Click the (i) icon next to your Wi-Fi network name.
- Scroll down and select “Configure DNS”.
- Change the configuration to “Manual.”
- Tap “Add Server” and enter the DNS server address (e.g., 1.1.1.1 for Cloudflare).
- Click “Save” to confirm your changes.
Access Private DNS on Windows
For Windows 10:
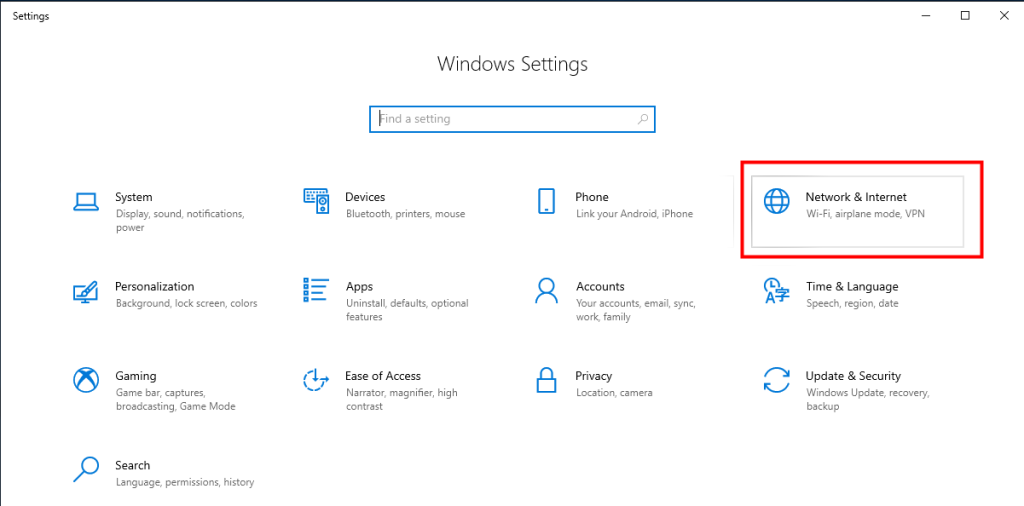
- Press Windows + I to open the Settings app.
- In the Settings, choose the “Network & Internet” option.
- You’ll find the “Change adapter options” button, then click it.
- Right-click on your active network connection (Wi-Fi/Ethernet) and select “Properties”.
- Select Internet Protocol Version 4 (TCP/IPv4) from the list shown in Properties.
- Enter the preferred DNS server (e.g., 8.8.8.8 for Google) and the alternate DNS server (e.g., 8.8.4.4 for Google).
- Click “OK” to save your settings.

For Windows 11:
Step 1: Press Windows + I to open the Settings app, and click “Network & Internet” in the left sidebar. You can also right-click the Start icon in the taskbar and choose “Network connection”.

Step 2: Click on either Wi-Fi or Ethernet, depending on your connection type.
Step 3: Scroll down and click “Hardware properties”.
Step 4: Under the “DNS server assignment” section, click the “Edit” button.
Step 5: In the dropdown, select Manual. Toggle on IPv4 or IPv6, depending on which one you want to configure.

Step 6: Enter your preferred DNS server addresses.
Step 7: Click “Save” to apply the changes.
Also read: How to Change DNS Server on Windows 10/11? So Easy!
Add Private DNS on MacOS
- Tap the Apple menu and select “System Preferences” > “Network”.
- Choose your active network connection (Wi-Fi or Ethernet) and click “Advanced”.
- Go to the “DNS” tab.
- Hit the “+” button and enter your preferred DNS server addresses (e.g., 1.1.1.1 and 1.0.0.1 for Cloudflare).
- Tap “OK” and then “Apply” to save your changes.
When you complete setting up private DNS on all devices, you also need to ensure that the network configuration allows DNS traffic to pass through. Moreover, you can adjust firewall rules as necessary.
Benefits of Using Private DNS
Enhance Privacy: Your browsing data is less likely to be logged, meaning your internet activity remains more private. This reduces the risk of targeted ads and enhances your online anonymity.
Improve Speed: Some private DNS servers may provide faster response times. Quicker DNS resolution can lead to faster page loads and a smoother internet experience.
Access to Restricted Content: Certain private DNS services can help you bypass regional restrictions, allowing access to blocked websites. This also enables you to download apps not available in your country.
Improve Security: Private DNS providers will offer additional security features than public DNS, such as protection against phishing attacks. These features help protect your data and reduce the risk of malware infections.
Choose a VPN to Protect Your Online Privacy
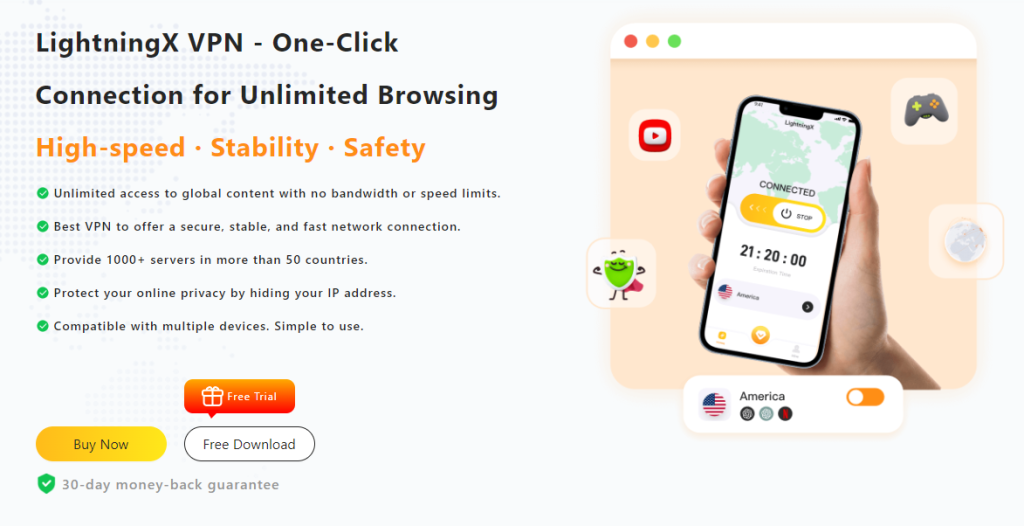
Definitely, a private DNS protects your online security. However, using a VPN is more convenient. For changing and hiding your IP address, you can try LightningX VPN. It offers 2000+ servers, allowing you to change your IP to other regions.
It has strong encryption protocols and algorithms like Shadowsocks, Vless, WireGuard, AES-256, etc. With LightningX VPN, you’ll have a safe online experience.
Besides these, LightningX VPN is available for most platforms, such as Windows, Mac, iOS, and Android. You can connect up to three devices simultaneously.
Try to install it, and you’ll enjoy a free trial in 7 days and a 30-day money-back guarantee.

How to Choose the Right Private DNS Provider?
Selecting the right private DNS provider is crucial for maximizing your privacy and security. Consider what features are most important to you, such as speed, privacy, and security. Here are some popular options:
- Cloudflare DNS (1.1.1.1): Known for its speed and privacy-focused policies.
- Google DNS (8.8.8.8): Offers robust performance but may log some data.
- OpenDNS: Provides customizable filtering and security features.
- Quad9 (9.9.9.9): Focuses on security, blocking malicious domains.
Conclusion
By following the steps outlined in this guide, you can easily set up a private DNS on Windows, Mac, iPhone, and Android devices. Remember to choose a reliable DNS provider that meets your needs for speed, privacy, and security. After this, you’ll enjoy a more secure and private internet experience.


