IP configuration failure is a common issue that occurs when a device cannot obtain a valid IP address from a network’s DHCP server.
There are several potential causes for this issue, including network connectivity issues, misconfigured settings, or the problem of the DHCP server.
This post explores the various reasons why IP configuration failure may occur and provides troubleshooting tips to help resolve the issue.
What Does “IP Configuration Failure” Mean?
IP configuration failure typically occurs when a device (such as a computer or a network router) cannot obtain a valid IP address from the network’s Dynamic Host Configuration Protocol (DHCP) server.
This can happen due to various reasons, such as network connectivity issues, misconfigured network settings, DHCP server problems, or IP address conflicts.
When your IP configuration is wrong, your device may not be able to connect to the network or access the internet.
Then how to fix IP configuration failure? Don’t worry. The troubleshooting steps are listed below.
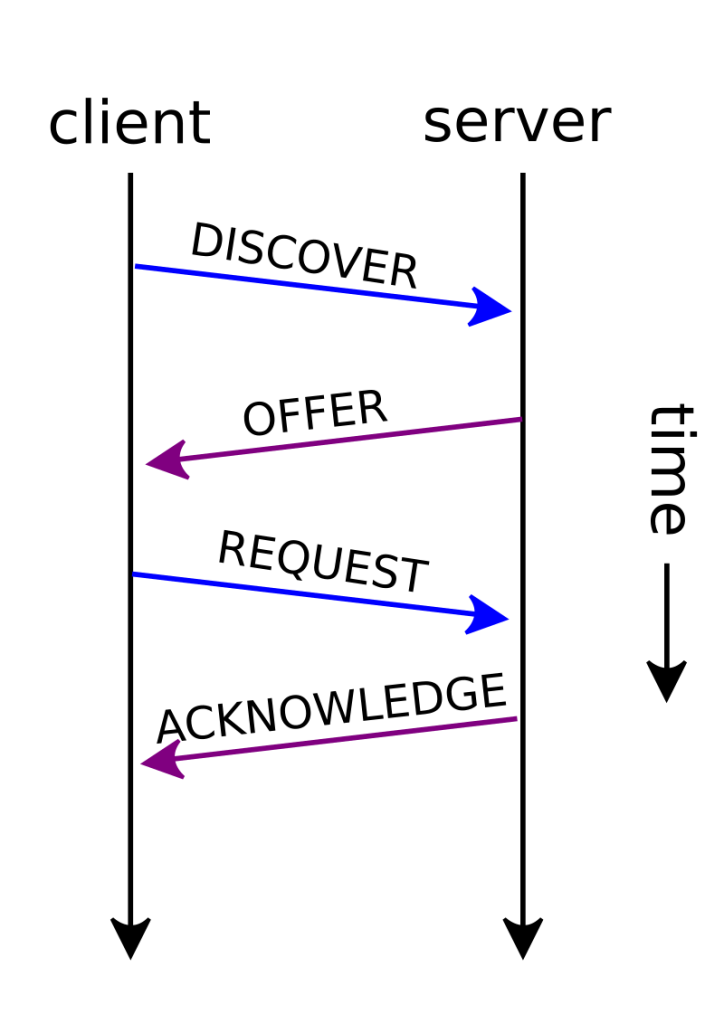
Causes of the “IP Configuration Failure” Issue
Your device may encounter the issue due to several issues. The causes of the issue are listed here.
Network connectivity issues: Connection problems such as loose cables or damaged ports can prevent the device from communicating with the network.
Network adapter issues: The damaged driver on your devices or hardware malfunctions, can also lead to IP configuration failure.
Misconfigured settings: Incorrect IP address settings, such as entering the wrong IP address, subnet mask, or default gateway, can cause the device to be unable to connect to the network. What’s more, subnet mask and default gateway errors can result in communication issues between devices on the same network.
DHCP server problems: DHCP server outages or network disruptions can prevent the device from obtaining a valid IP address. DHCP lease expiration can occur if the device fails to renew its IP address lease from the DHCP server, leading to IP configuration failure.
IP address conflict: If another device on the network is assigned the same IP address as your device, it can cause network communication issues.
Firewall or security software: In some cases, firewall or security software settings may block the device from obtaining an IP address from the DHCP server, causing the device to get the wrong IP address.
Troubleshooting Steps for “IP Configuration Failure” on Android
Restart the Device or Router
Sometimes simply restarting the device can resolve “IP configuration failure” issues by resetting network settings and clearing any temporary glitches.
Restart your Android.
- Hold the power button on the right of your phone until the restarting slider appears.
- Swipe the restarting slider.
- Wait until your phone is restarted.
Restart your router.
- Press the power button on your router which is usually on the back.
- Wait several minutes and turn on the router.
- Wait 30 minutes until your router automatically assigns the IP address to your device.
Check Network Cables and Connection
You may need to check all network cables to make sure they are securely plugged in and not damaged because any loose connections or faulty ports may cause network connectivity issues.
Use a VPN to Have an IP Address
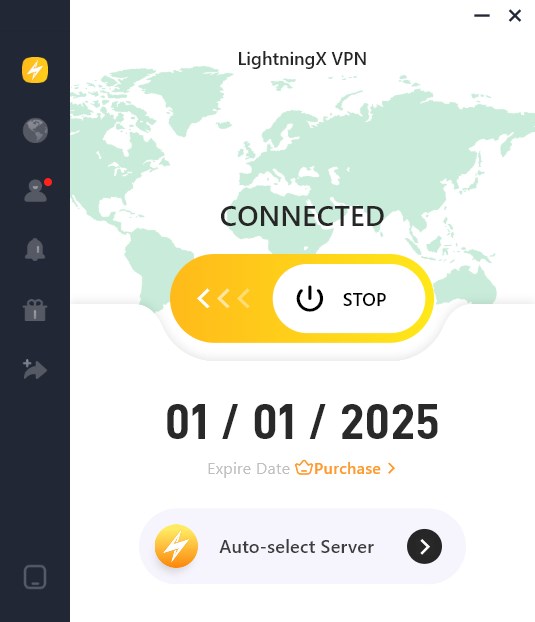
You can download and use a VPN to resolve the IP configuration failure because it offers you various IP addresses. You can use LightningX VPN because it allows you to enable IPv6. Here’s how to use LightningX VPN to enable IPv6.
- Download and install LightningX VPN on your device.
- Open the desktop or app and sign up for an account.
- Click the “Mine” icon on the left list of features to open the settings.
- Find and toggle on “Enable IPv6” in the settings.
- Return to the home page of LightningX VPN and select the desired server to connect.
Reconnect to a Network
Reconnecting to a network can help your device get the correct IP address. However, this method only solves the temporary issue. Check the steps below.
- Go to settings on your Android.
- Tap “Connections”.
- Click on “Wi-Fi”.
- Click the Wi-Fi network that you want to stop and tap “Forget”.
- Then, you can reconnect to the Wi-Fi network to see if the IP configuration failure is solved.
Manually Assign a Static IP Address to Your Device
Manually assigning a static IP address to your device might help you solve the “IP configuration failure” issue. However, this is a temporary method. Check the detailed steps below.
- Go to settings on your Android.
- Click “Connections” on the settings page.
- Tap on “Wi-Fi”.
- Tap the selected Wi-Fi network and tap “Forget” / “Delete network”.
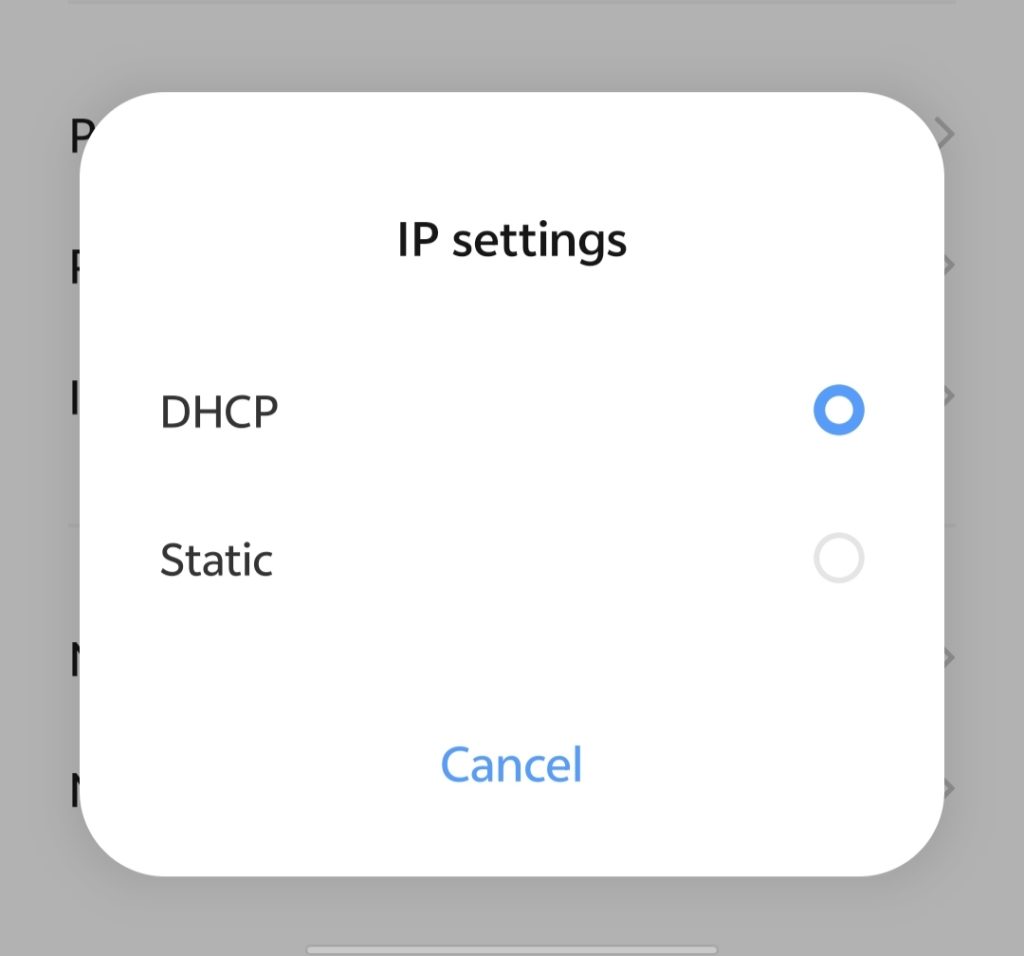
- Reconnect to the Wi-Fi network and tap “IP settings”.
- Tap “Static”.
- In the “IP Address” field, change the last digit of your IP address to any number between 1 to 225.
- Click “Save” and reconnect to your Wi-Fi network.
Switch your Airplane Mode on and off
Turning your Airplane mode on and off can restart your phone settings. This might help your device get the proper IP configuration.
- Swipe down from the top of the screen and tap “Flight Mode”.
- Wait a minute and turn off the flight mode.
- See if the issue is solved.
Remove the MAC Filter
MAC address filtering is a security access control method in computer networking that uses the MAC address assigned to each network interface controller to regulate network access.
For example, if you’re trying to connect your phone to the computer that has MAC filter through the port, MAC filter might prevent your device from connecting to it and may causes the “IP configuration failure” issue.
If you own the network and router, you can connect to the router and turn off the MAC filter for your Android.
Check if Your Router’s Built-in Firewall Runs Well
Sometimes your router’s built-in firewall may be changed or enabled by someone. This will cause your IP configuration wrong. You can check if your router’s built-in firewall runs well. Here are the detailed steps.
Step 1. Open a browser window.
Step 2. Log into the router’s administrative console which needs your router’s IP address (The IP addresses of different routers are listed below).
Step 3. Check if “Security” or “Firewall” exists on the IP configuration page. If they exist, it indicates that your router’s built-in firewall is turned on, and it doesn’t affect your IP configuration.
- Linksys: 192.168.1.1 or 192.168.0.1
- DLink: 192.168.0.1 or 10.0.0.1
- ASUS: 192.168.1.1
- Buffalo: 192.168.11.1
- Netgear: 192.168.0.1 or 192.168.0.227
Related: How to Find IP Address on Windows 10/11, Mac, iPhone, Android.
Reset Device
If all the methods can’t solve your problem, you can try to reset your device. Resetting your factory data will delete all the data on your phone and bring the phone back to its factory state. You must back up all the important data before resetting it.
- Go to settings on your Android.
- Click “System”.
- Click “Reset”.
- Select “Erase all data”.
- Type in your PIN and confirm by tapping “Erase all data”.
- Wait until your phone is restarted. Then see if the issue is addressed.
Troubleshooting Steps for “IP Configuration Failure” on Windows 10/11
Reset TCP/IP
Resetting the TCP/IP on your Windows 10/11 might help you solve the “IP configuration failure” error.
- Type “cmd” in the Windows search bar and right-click “Command Prompt” to select “Run as administrator”.
- Type the following commands one by one, and press Enter after each command: netsh winsock reset, netsh int ip reset.
- Close the Command Prompt window and restart your computer to check if the problem is solved.
Release and Renew Your IP Address
You can release and renew your IP address to fix “IP configuration failure”. Check the steps below.
Step 1. Open Command Prompt as an administrator as mentioned above.
Step 2. Type the following commands one by one, and press Enter after each command:
- ipconfig /release
- ipconfig /renew
Step 3. Close the “Command Prompt” window and restart your system to check if the problem still exists.
Set your IP Address Manually
You can manually set the IP address to settle the “IP configuration failure” issue on Windows 10/11. Check the detailed steps below.
- Press the Win + I keys simultaneously to open the settings and then choose Network & Internet.
- Go to the “status” tab and then click the “Change adapter” options in the right panel.
- Find your wireless connection and right-click it to choose “Properties”.
- In the Properties window, choose Internet Protocol Version 4 (TCP/IPv4) and then click Properties.
- In the new window, choose “Use the following IP addresses” and enter the IP address, Subnet mask and Default gateway. Click “OK” to save changes.
- Restart your computer to check if the error is solved.
Change the Number of DHCP Users
Changing the number of DHCP users might help you solve the “IP doesn’t have a valid IP configuration” issue.
Sometimes, the number of DHCP users may be limited to 50. If the number is beyond the limitation, there might be an error in the IP configuration.
To manually change the number of DHCP users, you can follow the instructions on your router.
Conclusion
The “IP configuration failure” issue may be caused by the network connectivity issue, IP address conflicts, and the router issue. By following the troubleshooting steps above, you may be able to solve the issue.


