


Facebook is one of the largest social platforms in the world, however, you may be concerned about the risk of privacy breaches. To keep the information safe, many people choose to set their Facebook accounts to private mode. By adjusting the privacy settings, you can ensure that only a specific group of people can view your profile, updates, or friends list.
In this article, we’ll detail how to make Facebook private to ensure you maintain a higher level of privacy when sharing content.
Facebook Privacy Settings Options
You may not realize that the default privacy settings on Facebook are usually public. This means that anyone can view your profile, posts, updates, and more. What privacy setting adjustments are available on Facebook? Here are the things you need to understand first.
- Public: Everyone including non-Facebook users can see your Facebook content.
- Friends: Only your friends have permission to view.
- Friends Except: Hide the post or content from friends you don’t want them to see.
- Specific Friend: Unlike “Friends except”, this option means that only the specific friends you select will see what you post.
- Only me: This option means only you can see your account content.
- Custom: You can decide on specific people or groups to view your content.
How to Make Facebook Private on Mobile/Desktop?
Control Who Can See Your Profile Information
To control who can view your profile information on Facebook (e.g., profile details, stories, contact information, personal pages, reels, etc.), you can adjust your privacy settings using the following method.
- Open your Facebook and go to the navigation menu by clicking your profile photo.
- Choose Settings & Privacy > Settings. Then tap “Privacy” on the desktop, or “Profile details” on mobile.
- Then, you can edit the visibility of each personal information separately on the screen.
Lock Your Facebook Profile
Another direct option on how to make Facebook private is to lock your Facebook profile. With an easy setting, you can quickly lock your Facebook. After that, no one can see your personal information anymore. Just go to your profile and click the three-dot icon next to “Edit profile”. Then, select “Lock Profile.
Make Your Posts Private on Desktop/Mobile
You can control who can see your posts on Facebook. Here is a step-by-step guide.
On Desktop:
- Navigate to https://www.facebook.com/ via any browser and log in.
- Click your profile picture in the upper right corner of the Facebook page.
- Choose Settings & Privacy from the drop-down menu, and then tap the Settings option.
- Click Privacy in the left bar.
- In the “Your Activity” section, you’ll see several post privacy settings, such as “Who can see your future posts” and “Limit the audience for posts you’ve shared”.
- Tap Edit or Limit Past Posts on the right of these options.
- Then, you can select Audience (e.g. Friends, Only me, Specific friends) in the drop-down menu.
On Mobile:
- Launch Facebook on your mobile devices and click the Menu icon.
- Scroll down and find the “Settings & privacy” option. Then, click it.
- Click “Settings” in this section.
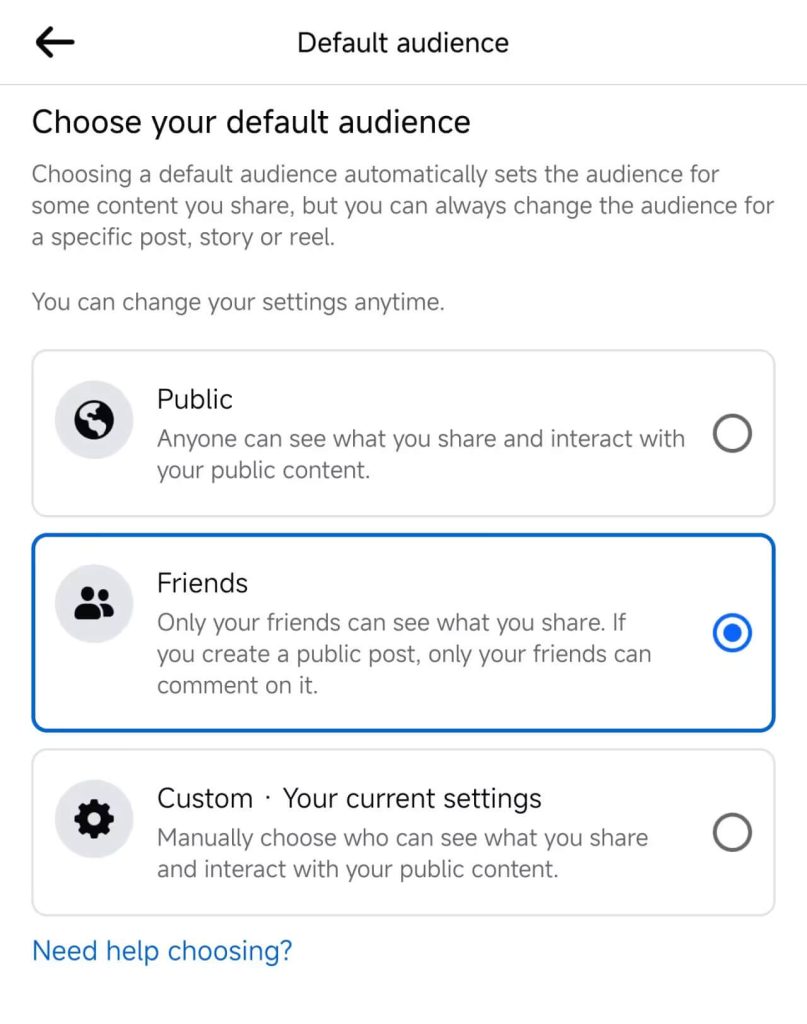
- Choose “Audience and visibility”, and then you can control who can see your future posts.
- Change the visibility to Friends, Specific Friends, or Only Me.
If you want to change the privacy of past posts in bulk, you can choose “Limit who can see past posts”. Then, reset the visibility of all your public history posts.
How to Make Facebook Friend List Private?
Here is how to make your Facebook friend list private. These steps are both available for mobile devices and desktops.
- Click your avatar to enter your personal profile.
- On your Personal Page, choose the “Friends” tab.
- Click the “Manage” button or three dots, then select “Edit Privacy”.
- Adjust who can see your friends list (e.g. Only me) or another preference.
- Once changed, click “Save” to complete the adjustment of your friend list privacy.
Additional Tips on How to Make Facebook Private
Tip 1: Use a VPN
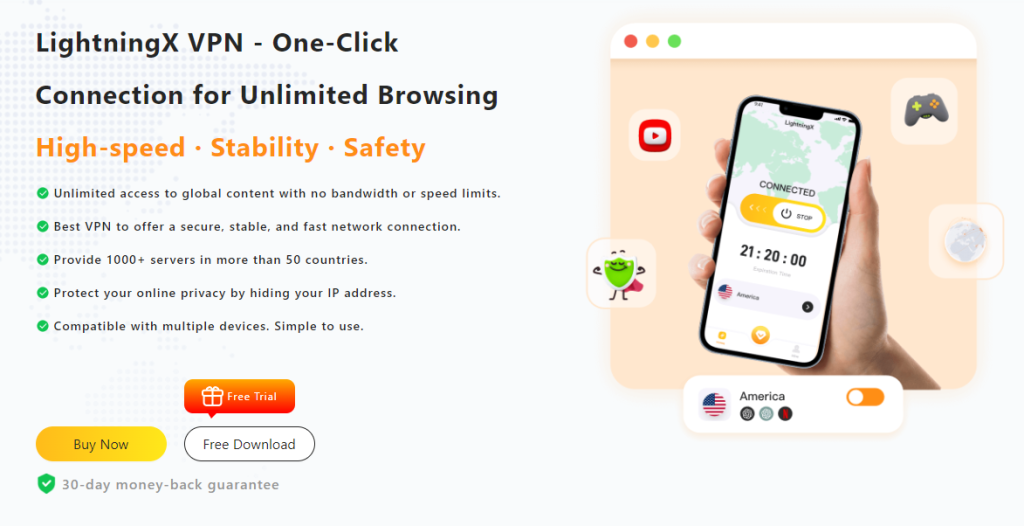
LightningX VPN is the popular VPN for protecting your Facebook account privacy. With more than 2000 servers in 50+ countries, you can easily change your IP address to a virtual location. This is excellent for your Facebook security enhancement.
If Facebook is restricted when you are traveling or going to another country where it’s not available, LightningX VPN can help you bypass geographical limitations with one click. Other streaming services like Netflix, Disney Plus, YouTube, and more are also unblocked.
Tip 2: Deactivate Facebook Account
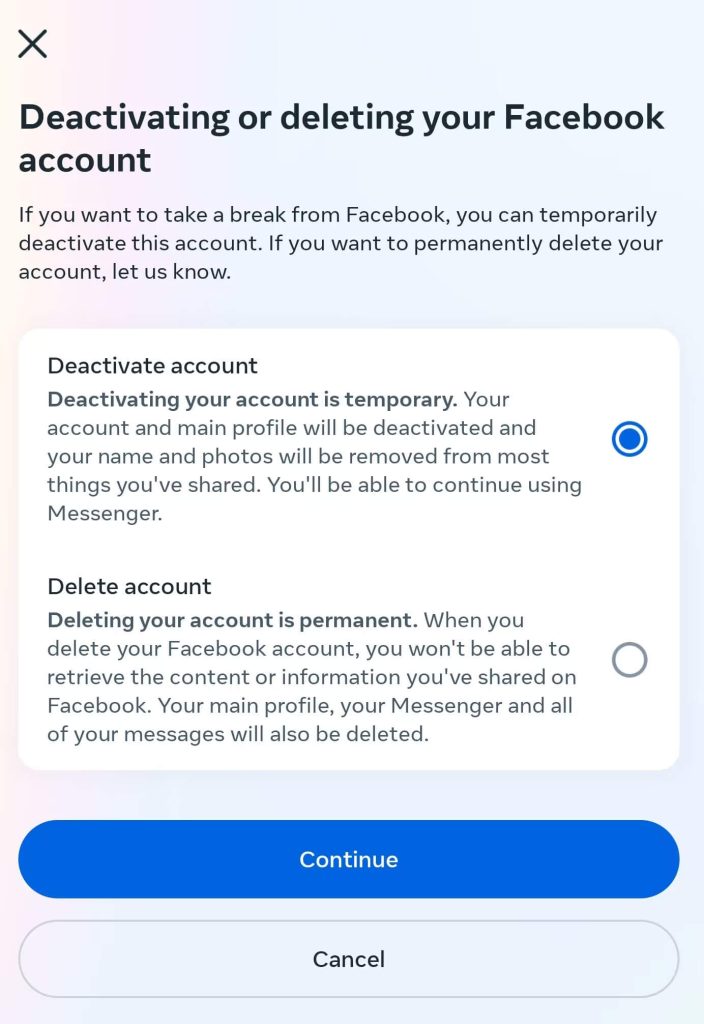
When deactivated, other users will not be able to see your profile, friends list, or posted content. However, this option helps reduce the risk of privacy leakage and minimizes the disruption of social media. Deactivation is temporary, and you can recover your Facebook account by logging back in at any time.
To deactivate your Facebook, go to “Settings & Privacy” > “Settings”. Choose See more in Accounts Center > Personal Details > Account Ownership and Control. Here you can see two options Deactivate account and Delete the account. Then, tap the first choice to deactivate.
Also read: How to Delete Facebook Account: A Complete Guide.
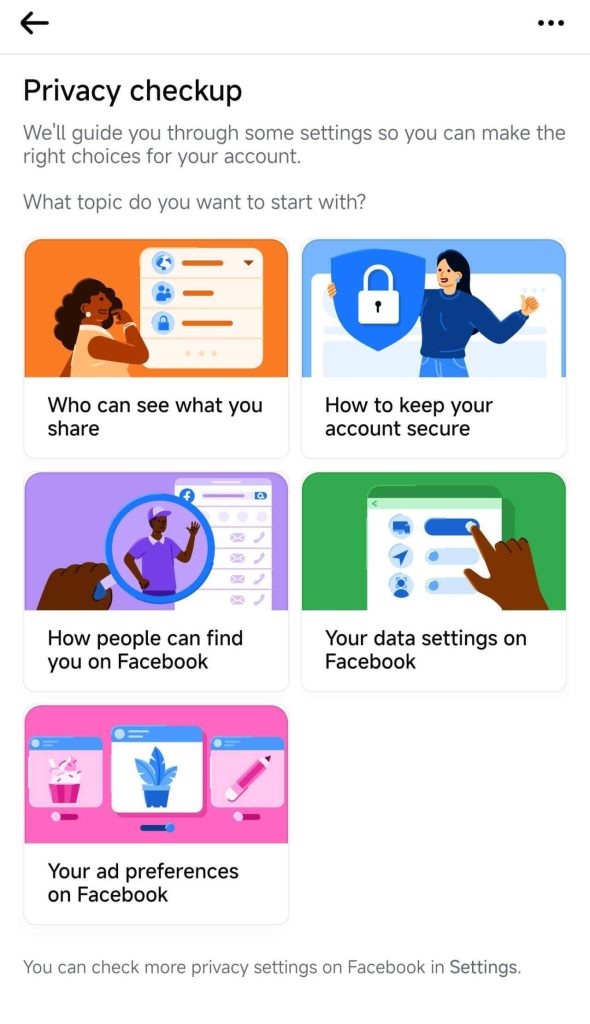
Tip 3: Use Facebook Privacy Checkup
Facebook Privacy Checkup helps you check and adjust the privacy settings of your profile to ensure that Facebook remains private. This feature allows you to quickly and easily control who can see your posts, personal information, friend lists, and more.
To use it, you can tap the profile picture and go to Settings & Privacy > Settings > Privacy Checkup. Choose “Who can see what you share”. Here, you are able to control most privacy settings of your account.
Conclusion
With the above steps on how to make Facebook private, you can easily adjust privacy settings. Thus, effectively protecting your personal information from being accessed by outsiders at will. Remember to check your privacy settings regularly for updates and changes to the platform.


